Saturday, December 21, 2013

View C part 3

Exterior Layer

The exterior layer is constructed the same as the interior layer of View B. The only exception being that you will have the shirring channel side visible.

Compare the difference between View B and View C:

View B

View C

The only difference is that View C's shirring is on the right side, and View B's is on the wrong side.

All the construction is the same. Applying to the buckram form is the same except that you will apply it to the exterior in View C and the Interior in View B.

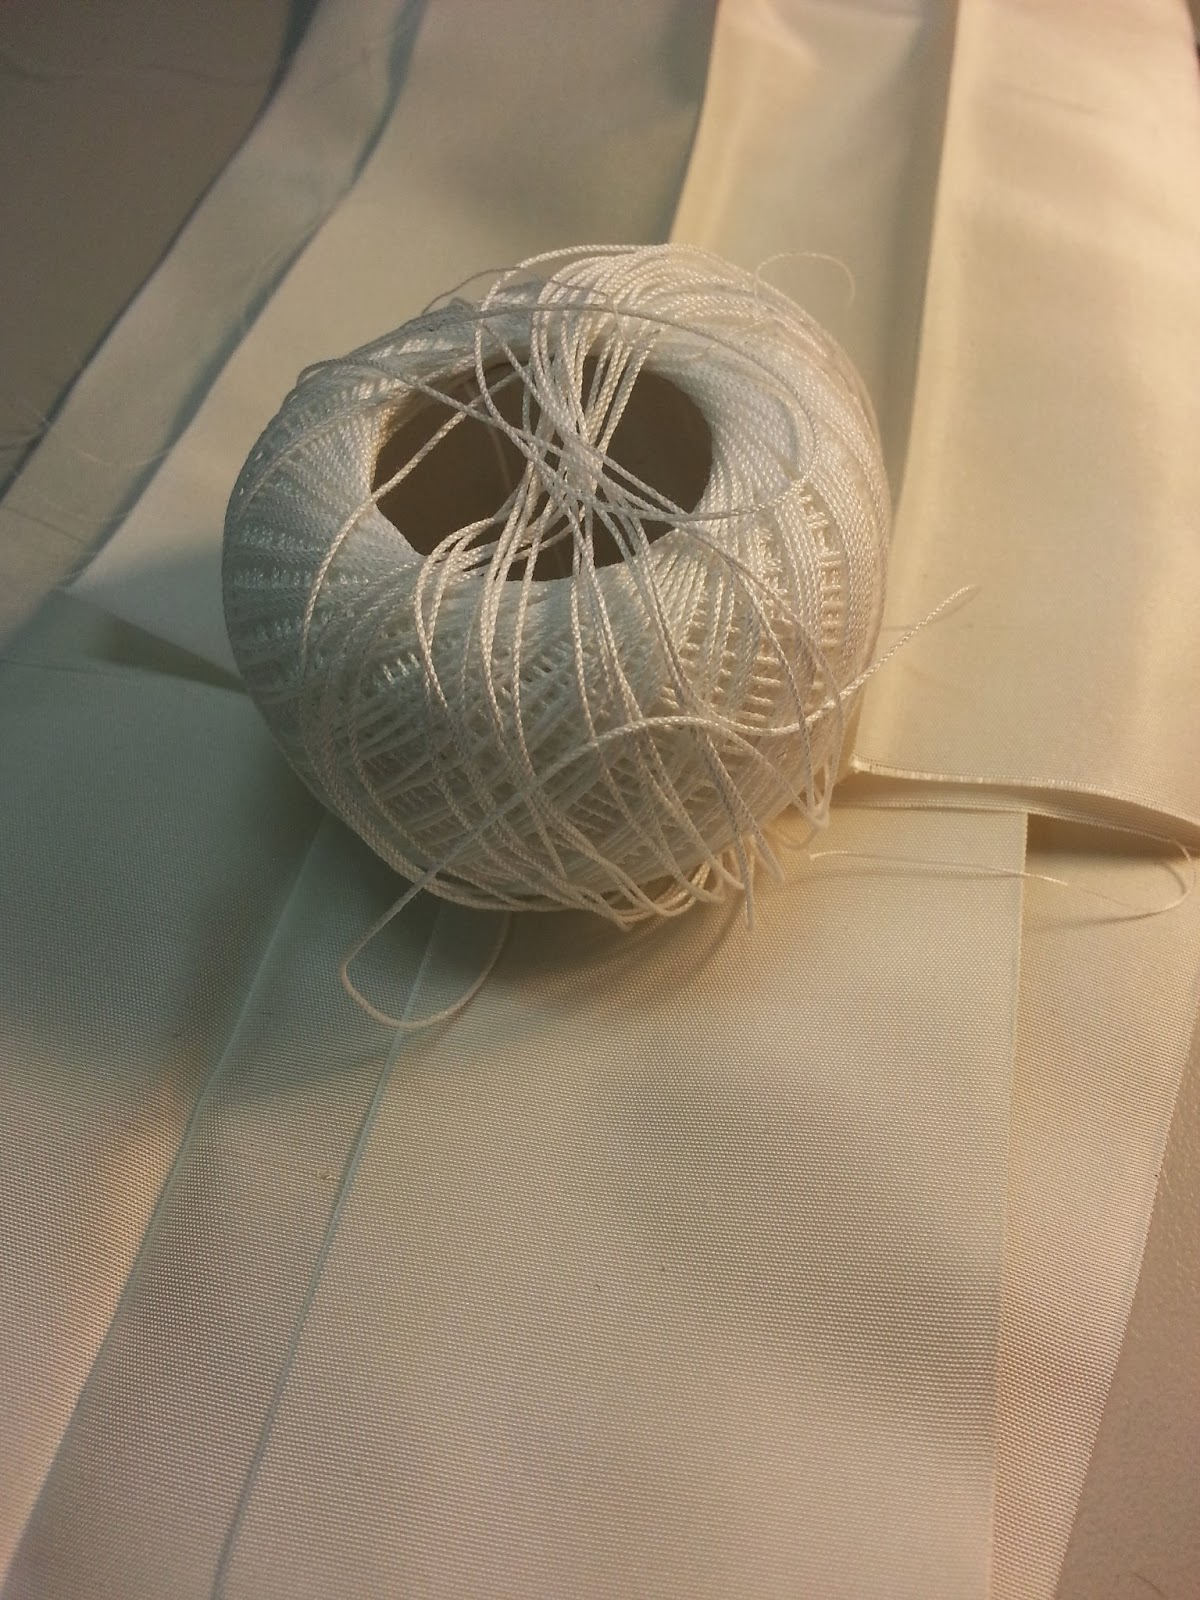
I am including construction pictures.


As in View B you will use a whip stitch to attach the exterior layer to the buckram form.

Apply Interior Layer to Buckram Form

 Next as in View B you will use a slip stitch to apply the interior layer. I'm including my construction pictures.


This concludes the Tutorials for the "Dinah" Bonnet pattern. I hope that if you have any questions you will message me, or ask them here on the blog. I have faith that you will finish the bonnets and give me honest and thorough feedback. I'm counting on you guys! :) Thanks again for agreeing to participate in this project! :)


View C part 2

Interior Layer

You are going to construct the interior layer exactly the same way as you did for the exterior layer of View B, except you will be applying ruffled trim on the placement lines as in View A.

I'm not going to rehash those tutorals, but I would like to explain how to make and use 
piping.

Making Piping

You should cut enough 1 1/4 inch bias to make 2 yards. 

I like thin piping, so I use 100% cotton yarn as the filling for my piping and a zipper foot to construct it.
Your going to fold the bias tape in half and encase the cotton yarn in the bias tape. In the end you will make 2 sewing lines on the piping. First to encase the yarn, and second to attach the piping to the interior layer. The first line of sewing should be a scant 1/16 of an inch closer to the raw bias edge, and the second as close to the cotton yarn as possible without sewing into the yarn.


Start applying piping at center back on crown. When attatching the piping to the interior layer, to get around outside curves, pull the cotton yarn a small amount. Smooth out the bias tape so that it lays smooth over the curve.


To make a clean end to the piping, cross the ends at center back on crown.


 Next clip the outside curves.

All the other construction has previously been discussed, but I'll leave the construction pictures here if you are interested.


View C part 1


View C 

A shirred exterior
A simple interior with ruffled trim
And piping along the outside edge

Cutting For Exterior and Interior


This picture is a little hard to understand so let me explain it. The white line that crosses through the simple brim is my silk taffetas seam allowance. The Shirring pannel has been placed on the fold and 1/4 of an inch has been added for "Turn of Cloth". 

You are cutting:
1 shirring pannel on fold
1 simple brim on bias
2 crowns on bias


Next you need to mark the shirring lines on the shirring pannel, the ruffle placement lines on the simple brim, and the center marks and X's on the crown.


Saturday, December 7, 2013

View B Part 3

At this point you should have the exterior layer constructed and set aside, as well as the interior layer constructed and whip stitched to the buckram form.

Attach Exterior Layer to Buckram Form


Fold seam allowances to wrong side, match centers and pin Exterior layer to the buckram form.


Once the Exterior layeris pinned to the buckram form, use a slip stitch to hand sew it to the buckram form.


The concludes the tutorial for View 3.

You may notice that I'm not including trimming the bonnet, this is because I'm not looking for exact duplicates. I trust you to trim your bonnet however you see fit. Just for your reference, the View B's example that I made is trimmed with a large embroidered net lace collar that I ordered from China on Ebay. It was $10. I guess what I'm saying is, find pretty things for your bonnet and trim away.  

Friday, December 6, 2013

View B Part 2

Cutting for Interior Layer


 Cut one Crown on Bias


Cut one Shirring Panel on Fold. Remember when I talked about Turn of Cloth? This is where that comes into play. I have given you 1/2 of an inch for seam allowance. This is most likely enough. It was for my silk taffeta. But maybe your covering your bonnet in Velvet or something else thick... 1/2 an inch wont be enough. I added 1/4 of an inch to the oustide seam allowance. Truth be told I ended up cutting it away, but better safe than sorry. It's quite a lot of work to go through to make this shirring panel. You wouldn't want to hve to make it again just because it was 1/4" of an inch too short.


Interior Construction

With your favorite marking method, mark all shirring channels. (I mark a straight line in the center) Fold between each shirring channel.


Creating Shirring Channels


You are going to need some cord, or heavy string. You could use button hole twist, or embroidery thread. I'm using crochet cotton by DMC.


 Place the crochet cotton in the fold of the shirring channel.


Sew a scant 1/8 of an inch from the folds edge. Be careful not to catch the crochet cotton in your stitches.

 
Once all your channels are finished use a wide eyed needle and tie knots on one side of the shirring panels shirring chords.

Now on both sides of the shirring pannels seam allowances (outside edge, and crown/seam allowance) Sew 2 rows of gathering stitches, inside the seam allowances.


Now on the Brim/Crown side, pull up gathering stitches. Match center with Crowns center. Sew Brim/Crown seam.


Ok, just to be clear, you are sewing from one edge to the other, don't leave off the seam allowances on the outside edges of the X's.

Also, you can use either side of the shirring pannel as the right side. I am using the inside folded edge as my right side.

Now pin the interior cover to the buckram form, matching centers. Remember that there will be 1/2 of an inch seam allowances on all sides. Draw up shirring chords to fit the buckram form.


Work your way from the Brim/Crown seam, drawing up on cord at a time. The very last will be the 2 lines of gathering stitches that are in the outside edge seam allowance.


Once everything is gathered up pin the outside edge to the form rolling the seam allowance over the buckrams outside edge.


Now use a whip stitch and sew the interior layers seam allowance to the external mull.


Whatever left over seam allowance you can trim away. Especially at the round Brim corners. When you do trim away, make sure you don't clip the shirring channel cords.